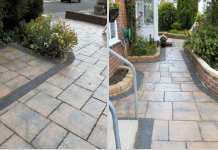
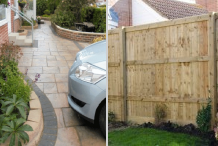
Tips on How to Properly Lay your Block Paving
byadmin| september 28, 2016 | block paving, paving tips
Block Paving Laying Process
When you watch professionals lay your block paving, the work seems like a breeze. However, this is not the case, most especially without the right materials and inexperienced hands. Here we give you the step by step directions of how to lay those block paving that will give your driveway a non-permeable finish.
Plan first
Before starting to buy the materials needed, you need a concrete plan. Try sketching plans for your home and garden and the areas that need to be paved. You can then lay out lengths to mark out the dimensions of your patio or driveway according to its position.
Prepare the Site
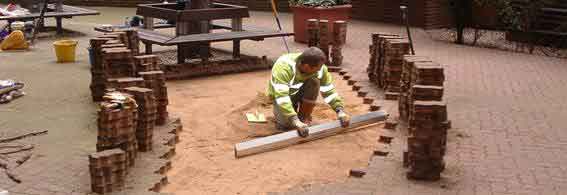
This will all depend on the size of the area you are going to work on. So it is advisable that you only use digging tools appropriate for the size. Use a shovel if it is a smaller sized area, and use a mini excavator if it needed be. If there are soft spots, you must excavate these areas and then fill them with more solid foundation. The wastes should be removed immediately. As much as possible use the tools according to their uses, follow all of the manufacturers guidelines when using excavation machinery in order to protect yourself and your ears, and keep the children far from the site.
All of the Edges
Always use protection when handling cement. Cover your skin and your face. The common formula in creating a concrete foundation is mixing one part cement and six parts ballast in the mixer for every edge restraint that is 10mm thick. You must also ensure the edge restraint unit can sit at the required finished level. You can check this when using the string line and spirit level. For the edge restraint, you can always have it at least 60mm. By using trowel and rubber mallet, you can mortar these units into the foundation. Using the concrete, you can form a haunch up at least half of the height of the block.
Below the Base
Again, before starting this particular step, follow all the guidelines when using vibrating plate machinery to protect yourself. If needed, apply the sub-base of MOT Type 1 using a rake. Make sure that it is thoroughly compact by using the vibrating plate compactor. Layers should be 50mm until your desired level is reached. You will need some sharp sand and put about 20mm of it on top. Using the screeding rails and string line, you can level the sand to the correct falls.
Installation
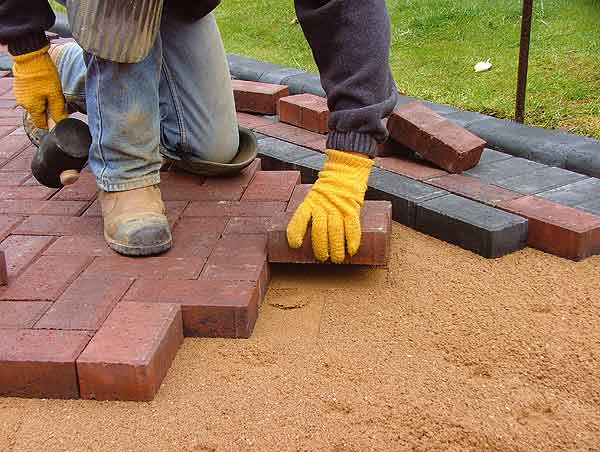
Another warning: when you are lifting and carrying around paving units, you must make sure that you can actually lift them. If it has considerate weight, make sure you keep your fingers safe while handling the paving units. Always start from a straight edge, or just to be sure, a right angle when placing blocks on top of the laying course. Make sure that they are 5mm on top of the finished level. Once all of these blocks are laid, you can cut a number to complete the area. Block splitter or diamond disc cutter is your friend when it comes to cutting blocks.
See Also: How to Build Garden Walls the Right Way
Finishing
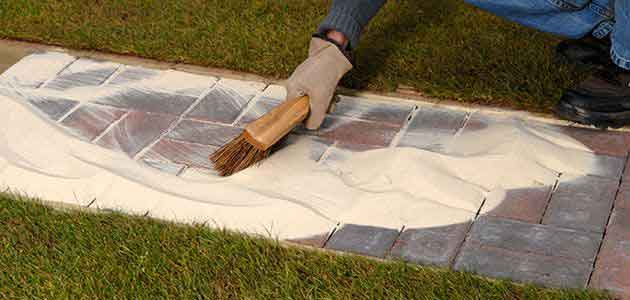
Use the yard broom to clean up the area. You can brush the kiln dried sand into the joints. Make them compact by using the vibrating plate compactor. This will ensure that all of the blocks are the finished level that you want. Re-compact and top the sand so there will be no joints that are left unfilled.


