Paving a Garden: A Step-by-Step Guide for Beginners
byadmin| september 28, 2016 | Artificial Grass, gardening tips
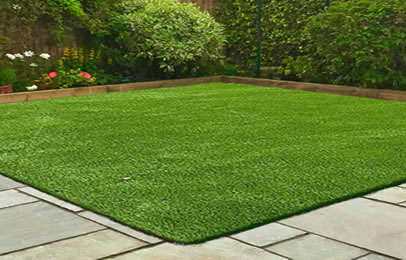
Artificial Grass Installation
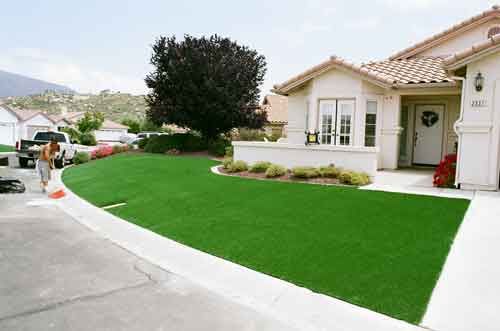
Here you can find a brief step-by-step procedure in laying artificial grass. This is the most efficient way of installing as the target completion time for this guide is one day. All you need is basic skills and you are good to go.
Step 1: Measure for Measure
Measure the entire area that you want to install the fake grass. Add about 10% to the total area just to be sure. It is better to have an extra yard than be short.
Step 2: Get Rid of Everything Growing
The reason for installing artificial grass on your lawn is to have a uniform look and easier maintenance. You must strip the area of grass, weeds, vegetation, and other unwanted things. Try to feel the soil to approximate its strength. Also, remove the stones that are protruding on the surface.
Step 3: Sharp Sand / Geotextile
Sharp sand is mandatory. You must spread a thin layer over the soil and then screed out to level and consolidate. To be sure that there will be no weeds that will grow later on, you can always use some geotextile, but this is entirely up to you, thus optional.
Step 4: Roll it Over
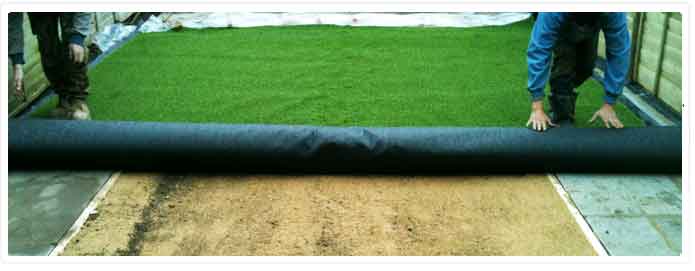
Work on the carpet when you roll out the artificial grass, do not do this on the levelled base. Minimize cuts, joins, and waste by correctly positioning the artificial grass. This is the reason why you have to have an accurate measurement of the area. Make sure that the grass is laid in the same direction as the pile. Hold the artificial grass in position by putting a good amount of kiln dried sand.
Step 6: Cut the Grass / Join the Grass
Cut the grass carpet down to size with a scissor. When joining the strips, you must pile them in the same direction. Butt the two edges together, only if there is an edge strip to cut. To make sure that the edges of the grass meet down the centre, you must fold them back and position the joining tape.
The adhesive should be applied in a zigzag path on the right side of the tape. Make sure to allow a cartridge for every three meters. Press the grass into the wet adhesive. When you are done with this, you can always weight the seam to make sure that you are joining the process.
Apply the adhesive in a zigzag motion to the rough side of the tape, allowing one cartridge every three metres. Then, press the grass into the wet adhesive. After you have done so, weight the seam to ensure the joining process is successful. This step is the most important if you want a good presentation because following this step closely there should be minimal visibility of joins, and if they are, they are neat to look at.
Step 8: Fixing
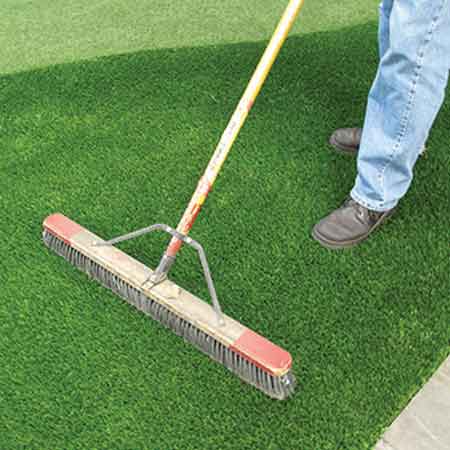
You must apply the remainder of the kiln dried sand and brush as you go, as this will build up the depth in layers. Do not pour the sand in one motion. Brushing the sand into the pile should be done when there is no rain or moisture. Brush vigorously with a stiff broom the carpet so that the tufts will be more vertical.
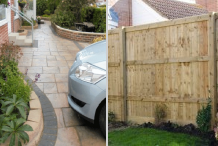
Galvanized broad-headed nails (4-6) are usually used in fixing the edge of the grass carpet. You can also use wooden pegs, or timber edging boards. Just make sure that you apply the latter before spreading the sand.
Step 9: Maintenance
Maintenance is required if you want the grass to look good for a long time. Brush the artificial grass regularly. Make sure to remove all the dirt, the debris, and soil. If there are stubborn dusts festering into the carpet, you could always wash it. Never use pressured water as it will remove not just the dust but also the fillings.
When you accessorize, do not use very heavy objects since it will sink down the underlying soil. After the snow has settled, leave them be. Do not use de-icers as it will also harm the carpet. A dichlorophen moss-killer is necessary for those living in damp areas.
Loosening the sand on the surface is also recommended. Use a spring rake to in topping up the sand. Never use electric or machine powered tools as they will destroy the grass fibre. Flaming and hot items, like cigarette butts and barbeques, must not be placed directly on the surface.
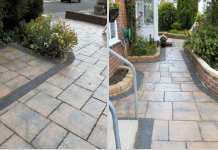
See Also: Maintaining your Driveway Paving Like a Pro